It began with a project
Lately I’ve been thinking a lot about how to better support people who come into The Working Centre’s Computer Recycling Project and buy a computer with Linux Mint. While the project has been installing supporting Linux since 2001, four years ago we decided to focus almost entirely on helping people locally with Linux. Linux Mint now runs on 95% of the hardware the project sells, and we’ve helped people with everything from scanning wirelessly through Linux Mint, to recovering from some bad/broken updates.
One of the things that’s always bothered me is the fact that there so many cool things that you can do with Linux that we are not showing people (because of time). I’ve been thinking the best way to convey these things is through video. One of the things I’ve seen a lot of content creators doing is using “B-roll” footage. While I’m sure many creators just buy pre-existing footage, it occurred to me that I could use some of the tens of thousands of photographs and screenshots I’ve taken over the years to create small B-roll clips.
To best use the photographs I first needed some sort of organization.
The organizing started with our NAS
When I originally set up our Network Attach Storage (NAS) it was primarily to deal with the huge amount of DVDs and Blu-ray media that I had on our Xubuntu/KODI media centre. A side effect of setting up the NAS is we suddenly had a central place where I could also store all those photos I’ve taken.
The NAS solves one problem: centralization. Another issue I have to take care of is duplicates. Over the years I’ve backed up media, and backed up the backups, so there is likely a lot of duplication in the photo collection. This is an issue I haven’t fixed yet, but I’m working on.
Organizing photographs with creating video in mind
Creating videos based on photographs is simpler when all photographs are the same dimensions. Looking through EXIF (Exchangeable Image File Format) data takes time. It occurred to me that one of the ways I could save myself a bunch of time was to rename my files using the dimensions in the EXIF data in each photograph, so I went looking for a way to do this, and found exiftool.
Installing exiftool
In recent versions Ubuntu-based distributions exiftool is in a package called ’libimage-exiftool-perl.’ To install the program, open a terminal (CTRL + SHIFT + T) and type:
sudo apt install libimage-exiftool-perl -y
Using exiftool
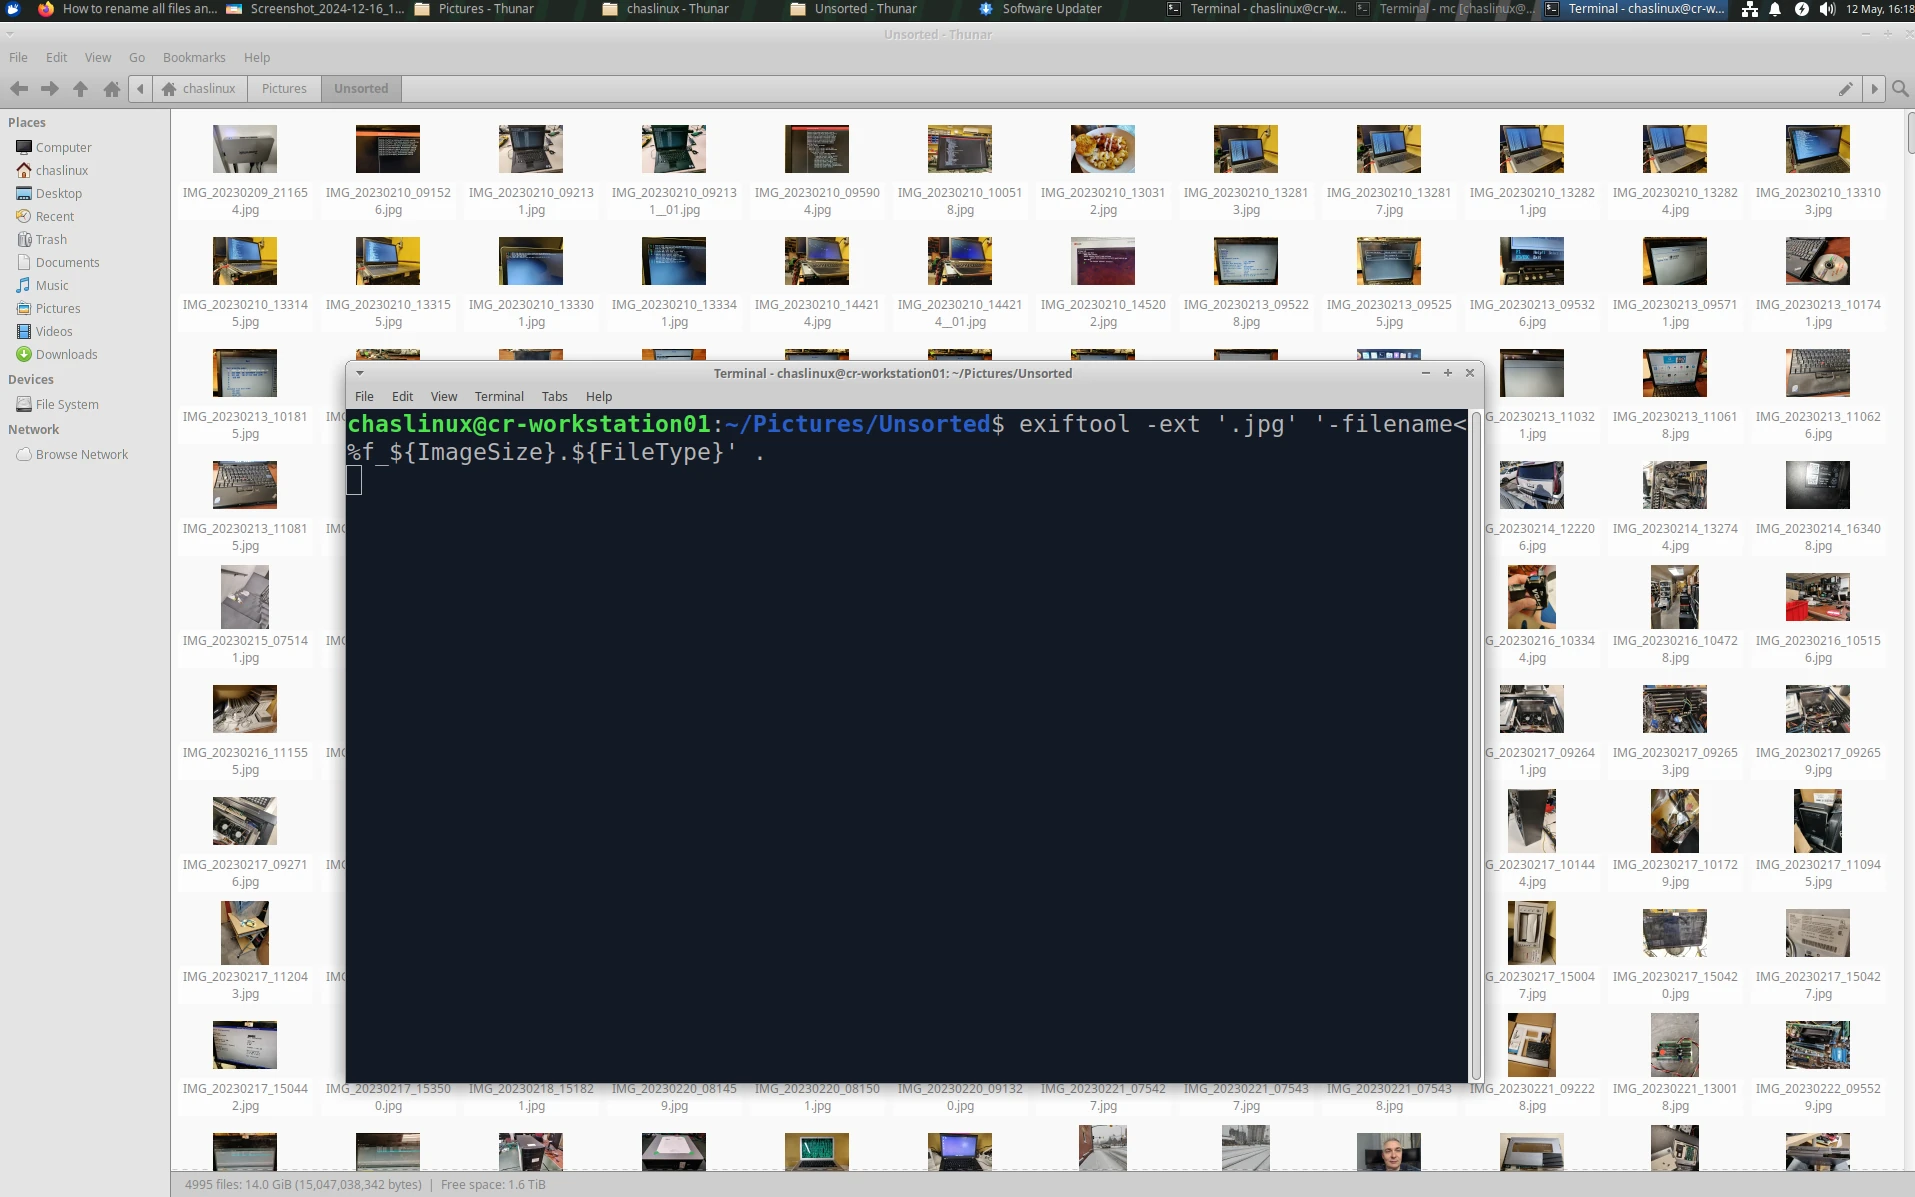
To use exiftool first navigate to a directory containing photographs. Depending on the photograph type you’ll want to switch up this command a little bit. Here’s an example for .jpg images:
exiftool -ext '*.jpg' '-filename<%f_${ImageSize}.${FileType}' .
For .png images you’d modify the command to be:
exiftool -ext '*.png' '-filename<%f_${ImageSize}.${FileType}' .
This renames the filename using its existing name, but appends the size of the image, and ends the name with an extension that matches the type of file (.png, .jpg). It’s worth noting that the extension matters, so .JPEG files will not be re-named if the extension is .JPEG, you would have to specify this:
exiftool -ext '*.JPEG' '-filename<%f_${ImageSize}.${FileType}' .
Linux treats capitalization differently than Windows. Filename, filename, fileName, are all different names to Linux.
 1. Files renamed with exiftool to include resolution data.
Results
Having all photographs renamed with the dimensions of the image already makes it easier to sort through images I might want to use in a video, and images I might use within a window within the video. My next steps are sorting photographs based on content. More on this in a future post.